Atlas CRM Cloud
  • Atlas CRM Cloud
  • Release notes 2025
  • Release notes 2024
  • Release notes 2023
  • Release notes 2022
    • November 21st
    • September 8th
    • June 14th
    • June 1st
    • May 19th
    • May 11th
    • March 31st
    • March 15th
    • March 9th
    • March 2nd
    • February 21st
    • February 16th
    • February 4th
    • February 2nd
    • January 22nd - Atlas CRM 2.0
    • January 13th
    • January 10th
  • Getting started
    • Checklist
    • Core concepts
    • Installation
    • Language settings
    • Pricing
  • User functionalities
    • Companies
    • Contacts
    • Sales
    • Jira issues
    • Interactions
      • Manual Interactions
      • Gmail Integration
        • Installation
        • Feature overview
        • Admin settings
      • Outlook Integration
        • Installation
        • Feature overview
        • Admin settings
      • Jira Service Management Requests
    • Custom JQL
      • Practical examples
      • Queues in Jira Service Management
      • Gadgets on dashboards
      • Custom JQL automations
    • Confluence pages
    • Export
    • User preferences
  • Gmail integration
  • Admin configuration
    • Templates
    • Import
    • Sales configuration
    • Atlas CRM data on Jira issues
    • Access and User roles
      • Granting access to Atlas CRM
      • Customising User roles
    • Automations
      • Triggers
        • Issue created
        • Issue comment added
        • Issue updated
        • Contact linked to issue
        • Company linked to issue
        • Sale linked to issue
      • Actions
        • Link company based on custom field
        • Link contact based on custom field
        • Link contact based on reporter's email
        • Link company based on reporter's email
        • Copy template fields to custom fields
        • Link a linked company
        • Link a linked contact
        • Log issue as interaction
      • Configure an automation
        • Select trigger and actions
        • Publishing your automation
        • Disabling an automation
    • User synchronization
    • JSM Connect
    • API
      • Authentication
      • Endpoints
  • Privacy / Security
    • Security policy
  • Relevant links
  • Marketplace
  • Support
  • Roadmap
  • Server / Data Center documentation
Powered by GitBook
On this page
  • Examples of gadgets
  • How to configure a dashboard gadget with Custom JQL

Was this helpful?

  1. User functionalities
  2. Custom JQL

Gadgets on dashboards

Build Gadgets in Jira Dashboards using Customer Data

Last updated 7 months ago

Was this helpful?

By using gadgets configured with customer or sales-related queries, you can easily visualize important metrics and track key business activities.

Examples of gadgets

Here are some examples of how you can use Custom JQL to enhance your dashboard:

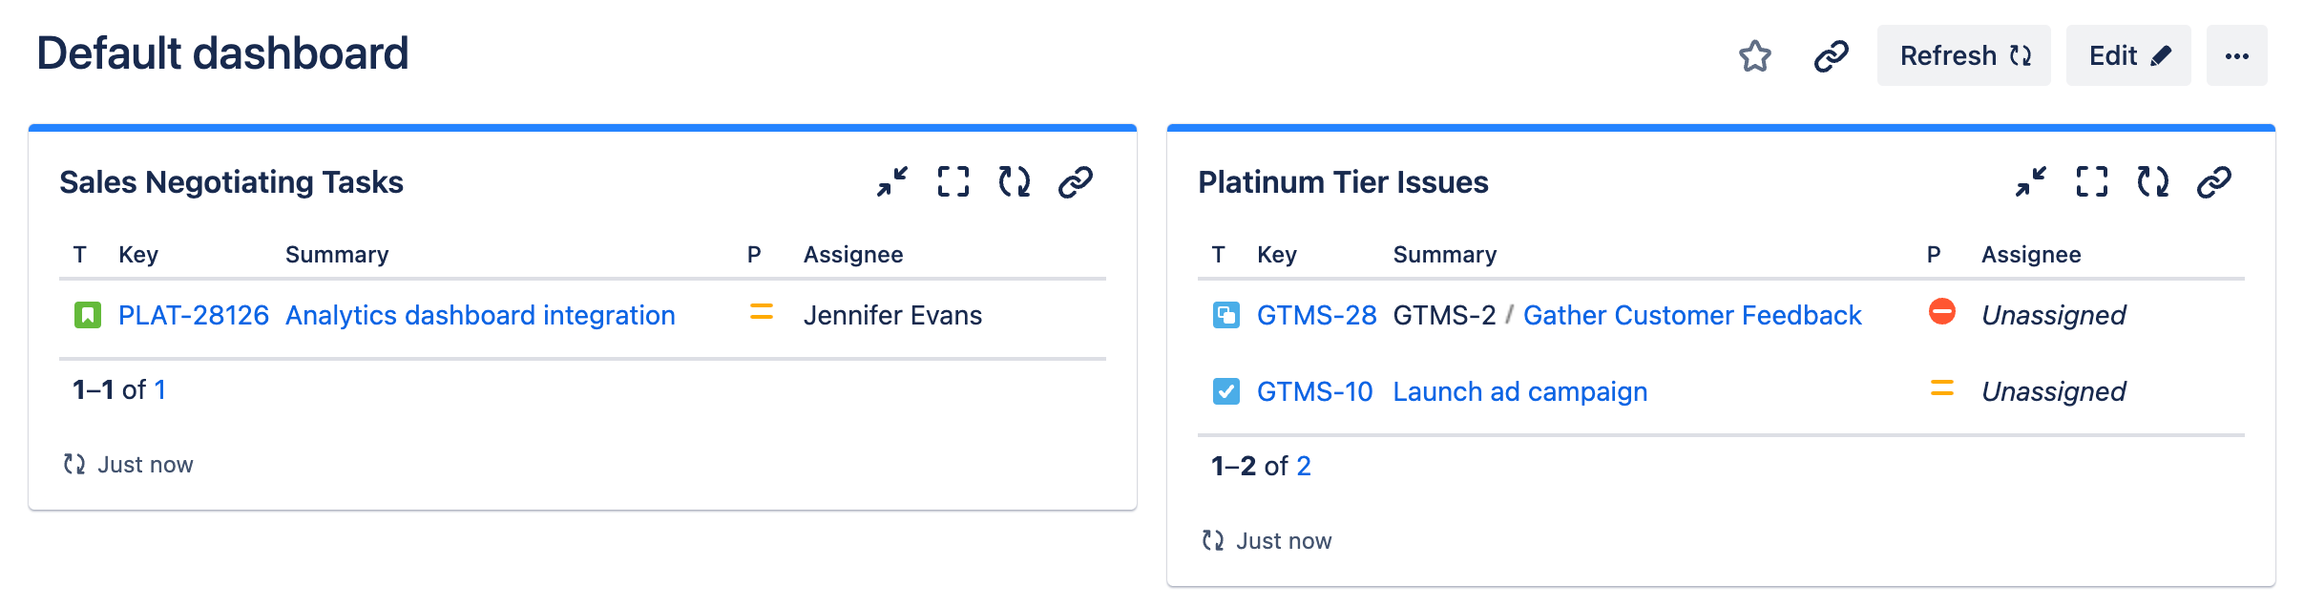
Monitor high-value accounts

Create a gadget to show all unresolved issues for "Platinum" tier customers. This helps your team prioritize work for your most valuable clients.

JQL Query:

atlasCompany in atlasCompanies("Customer Tier", "=", "Platinum") AND status != "Done"

Track sales stages

Use Custom JQL to display the number of Jira issues linked to sales opportunities in different stages, such as "Negotiation" or "Closed Won." This gives you a clear view of your sales pipeline and helps you focus on deals that need attention.

JQL Query:

atlasSale in atlasSales("Funnel stage", "=", "Negotiation")

How to configure a dashboard gadget with Custom JQL

Follow these steps to set up a dashboard gadget using your saved Custom JQL queries:

  1. Save a Custom JQL filter First, go to the Filters section in Jira and create a new filter by inputting your Custom JQL query (e.g., to monitor high-value accounts or track sales stages). Once done, save this filter.

  2. Select the right gadget Go to your dashboard, click "Add Gadget," and choose a gadget such as the "Filter Results" gadget.

  3. Choose a saved filter In the gadget settings, select the filter you've saved in the Filters section that contains your Custom JQL query.

  4. Customize the results Adjust the settings to define how the results should appear. You can set the columns to display, choose how many results to show, and sort the results by factors like due date or priority.

  5. Save and view results Once you have configured your gadget, click "Save" to add it to your dashboard. The dashboard will now display real-time data based on the saved Custom JQL query.

Gadgets powered by Custom JQL allow you to track key work items, sales stages, or customer-related issues directly from Jira, giving you a focused view of your most critical tasks.

Example of jira Dashboard Gadgets using Custom JQL and Atlas CRM