Import
Start import
Best practice: It's highly recommended to learn this method by starting with several imports with just a single or a few companies. This allows you to familiarize yourself with the process, decreasing the chance of mistakes in the process.
To start a new import, navigate to the Atlas CRM settings in the top bar menu and go to import. Here you will find an overview of all recent imports. To start a new import, select start new import.
The importing process consists of several steps:
Upload the CSV file(s)
Match CSV data with fields in the template(s)
Choose where a unique company or contact can be recognized from
Choose to update existing companies or contacts
Get a summary of your import
Confirm
Make sure that templates use the correct fields and sections before starting an import
Upload files
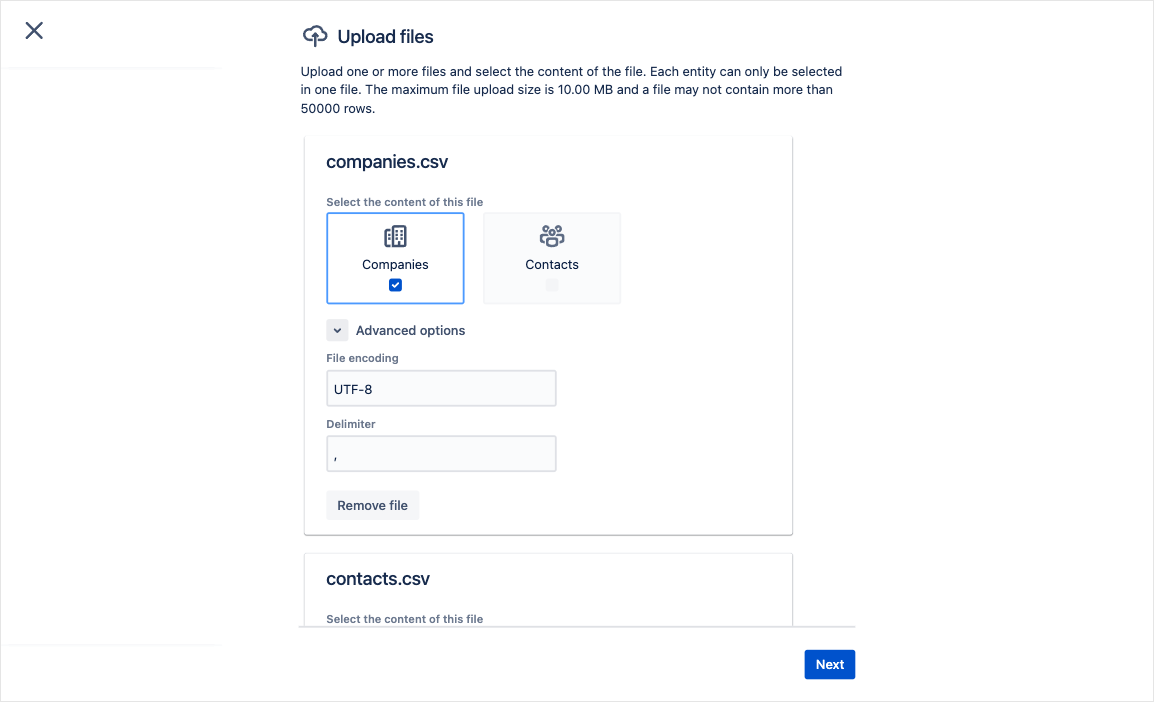
In the first step you are required to select a CSV file(s) from your system.
Best practice: an easy way to create a file for your import that matches your fields in Atlas CRM is to export a single company from Atlas CRM into a CSV or XLSX. You can then add the data you'd like to import in the CSV or XLSX and use the file (with all the added data) to import everything into Atlas CRM. Export
Select the CSV file(s) from your system and upload it into Atlas CRM. Once the file is uploaded, you can choose if the file contains companies, contacts or both. You can also upload another file to link two separate files as companies and contacts.
On this page you also have the option to expand the Advanced section for each file. Here you can set some import settings such as File encoding and CSV Delimiter. These are set to the most commonly used values, so you can ignore these most of the time.
Best practice: Check which delimiter (the character hat separates text strings) is used in your uploaded file. By default Atlas CRM expects "," to be the delimiter, another commonly used delimiter is ";".
Match fields
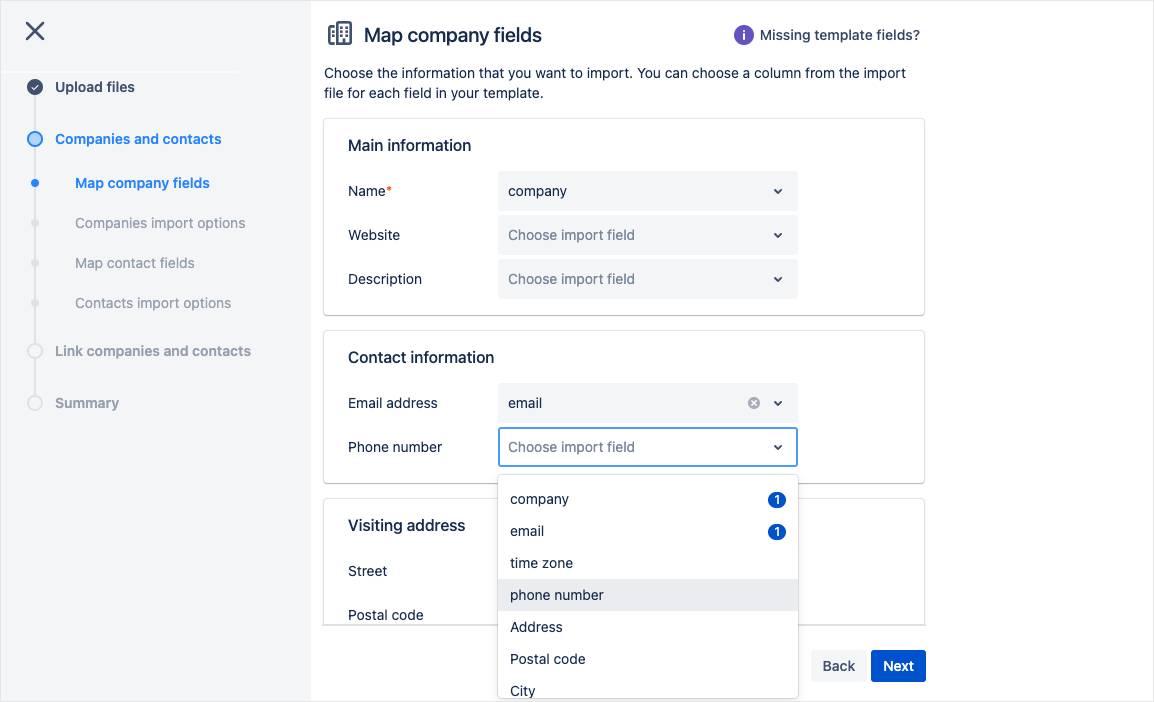
In the second step you are asked to match the columns from you CSV0file with template fields.
For each field in the template, you can select a column from the CSV file. This means that you can choose what data you want to import and where you want to import it. Data that you do not select, will not be imported.
The Name field is the only field that is required to fill out. Without a name, we can't create a company or contact.
To import values into a field with type "User", you will have to import Atlassian account-id's into the field.
To import values into a field with type "Select list (Multi)" you will have to import comma-separated values into the field.
Choose unique values
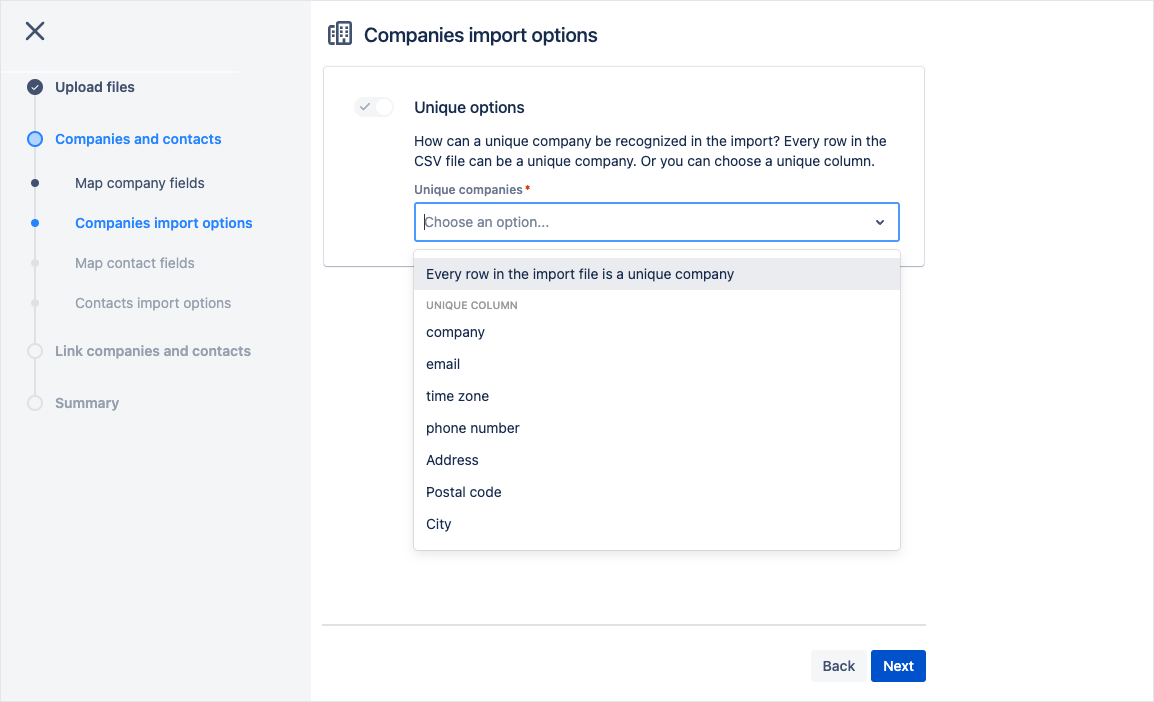
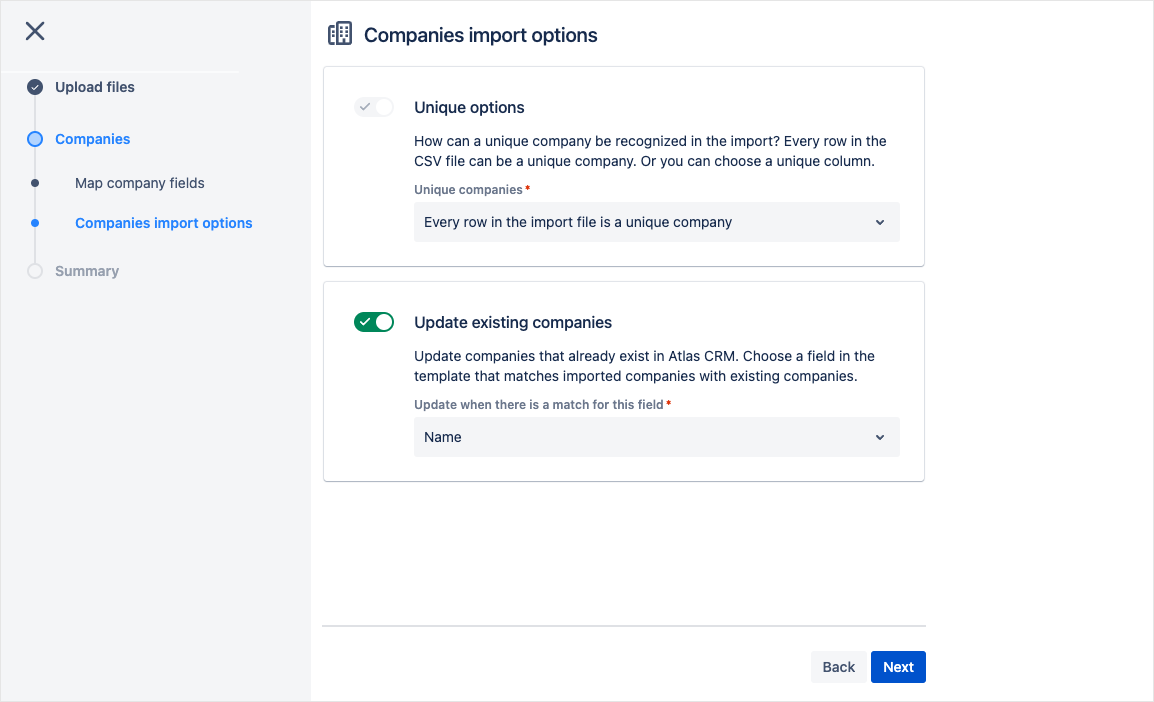
In this step you are asked how a unique company or contact can be recognized from the import. You can choose the default option that each row is a new company or contact or a specific field that is unique for the company or contact.
Update existing (re-import)
If you are doing a re-import, turn this option on. In this way, each company or contact that already exists is updated with the new information. Choose the field that matches the old and new import.
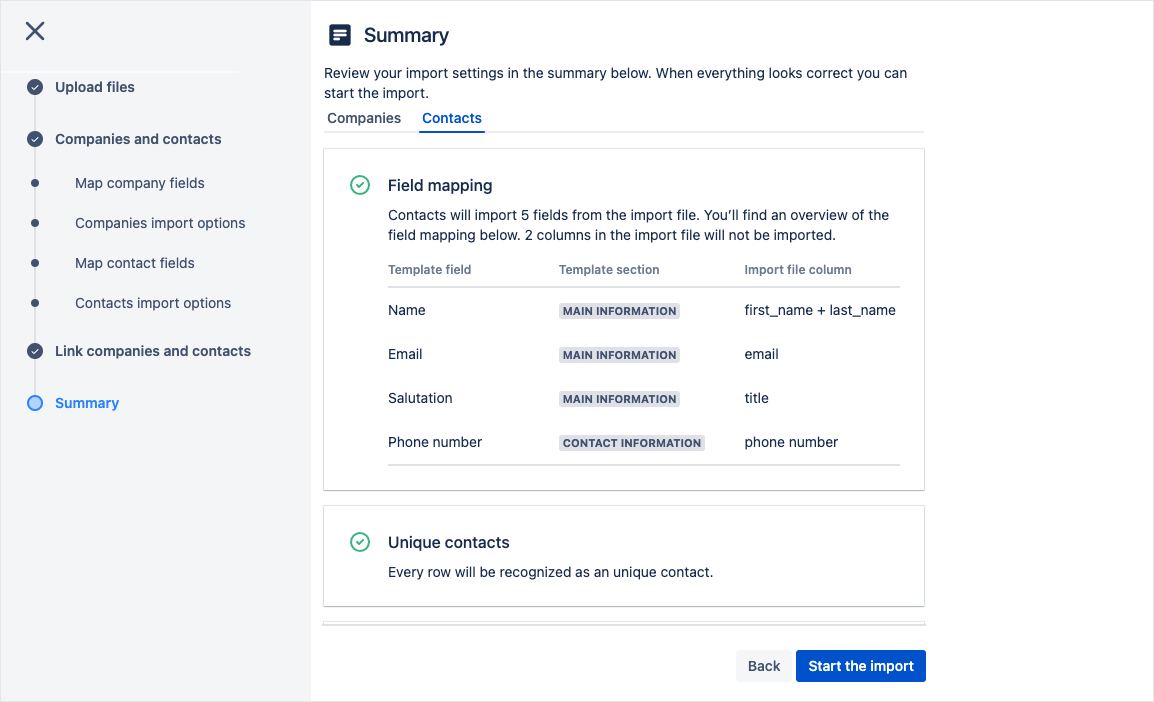
Summary
This summary is the last step of the import. Please make sure to check all the information before you start the import.
